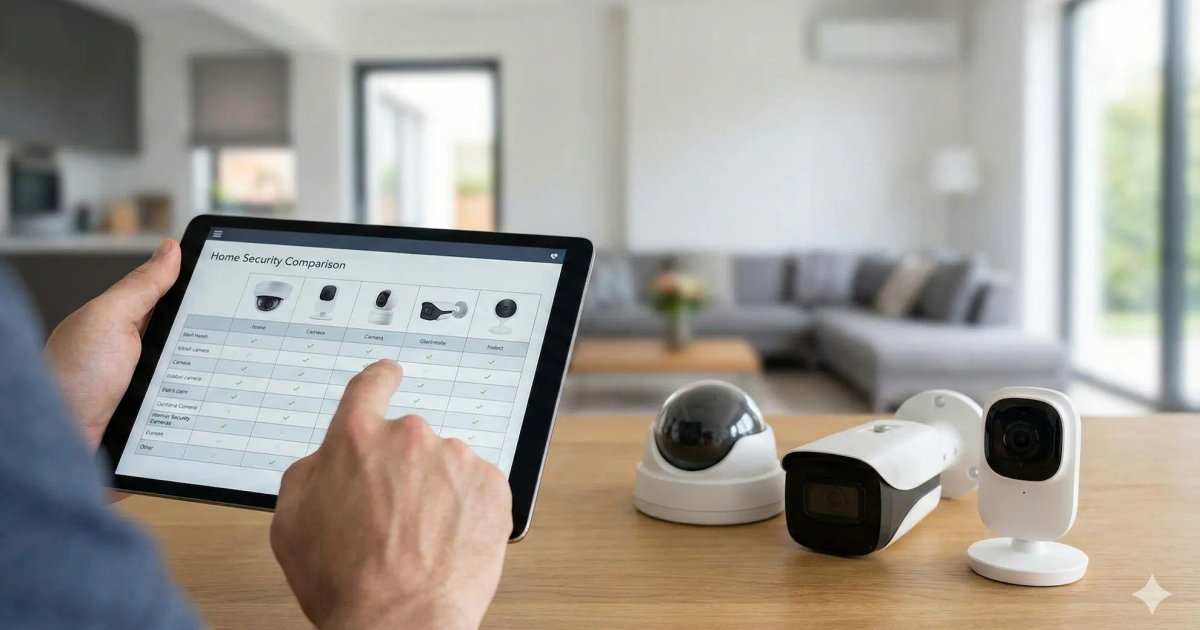
Before buying the first camera, work out what you need to see, from where, and how the footage will reach the recorder. This guide follows that order: the areas to cover, the number of cameras, wired or wireless, the full parts list, installation, then remote viewing. Choosing the recorder itself and reading camera spec sheets each have their own guide, linked along the way.
1. Map the areas to watch
Walk around the property with a floor plan or a photo of the front and mark the places people have to pass through. Those matter more than wall area.
- Entrances: front door, gate, garage door, service entrance. One camera each, placed to see faces head-on.
- Surroundings: yard, parking, side alley. Here you want an overview rather than identification.
- Indoors: till, storeroom, the corridor leading to sensitive rooms.
For each area, write down what the camera has to do: tell you that something is happening (wide view) or let you recognise a person or a number plate (narrow view, camera closer). One camera rarely does both. The lens, resolution and night vision that follow from this are covered in the technical guide to choosing a security camera.
2. Count cameras and channels
Add up the cameras on your list, then add one or two spare slots. Recorders mostly come in 4, 8 and 16 channels. With five cameras planned, go for 8 channels rather than replacing the unit the day a sixth camera is needed. Also check the resolution each channel accepts. A 5 MP camera on a recorder limited to 2 MP will not record in 5 MP.
3. Wired or wireless: pick the technology
This decision sets everything else, because cameras and recorder must use the same technology.
| Technology | Video and power | Recording | Keep in mind |
|---|---|---|---|
| HD over coax (HDCVI, TVI, AHD) | Coaxial cable for video, 12 V from a power supply | DVR or XVR | Simple wiring, often reuses old coax runs |
| Wired IP (PoE) | One RJ45 cable for video and power | NVR with PoE ports, or a PoE switch | 100 m maximum per network cable, cameras often run their own detection |
| Wi-Fi | Video over Wi-Fi, but still needs a power socket | microSD card, cloud or compatible NVR | Depends on signal at the exact mounting spot |
| 4G and solar | SIM card, battery and solar panel | microSD card or cloud | For sites with no mains power or internet: building sites, farms, plots |
HD-over-coax cameras are still called analogue, yet they now go up to 8 MP (4K). The gap with IP is less about image quality than about cabling and room to grow: an IP camera plugs into any point on the network, and many models analyse the image themselves. The HDVI coax camera range includes Dahua and Hikvision models from 2 to 8 MP. On the IP side, a Dahua 8-channel NVR with 8 PoE ports powers its cameras directly, with no separate supply.
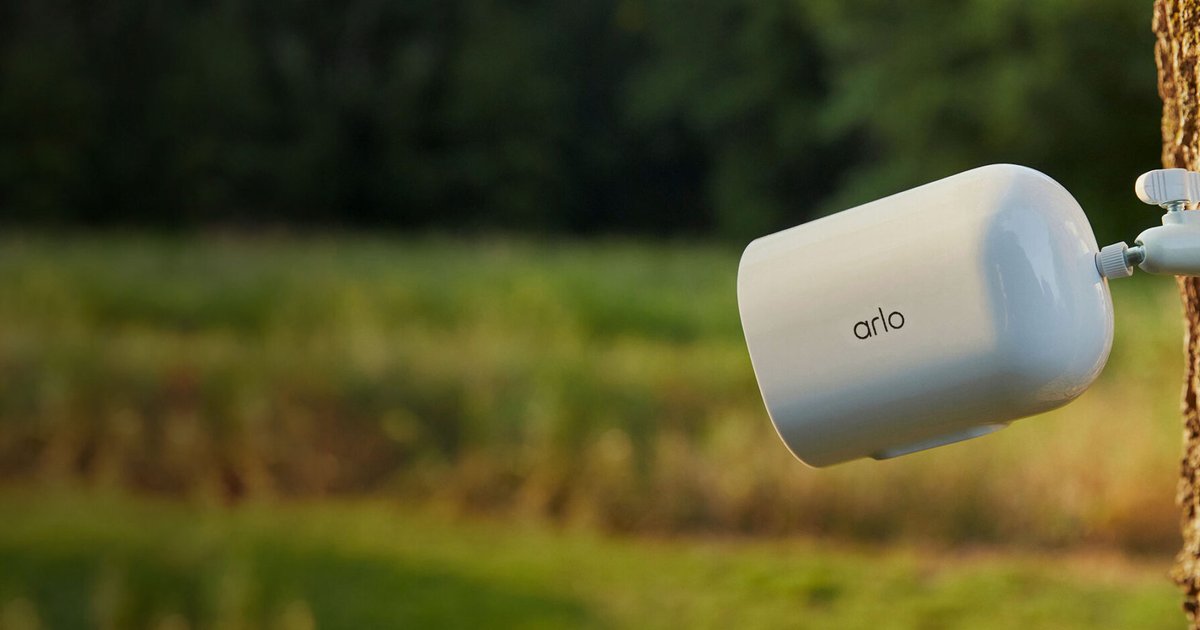
Wireless only applies to the video. A Wi-Fi security camera plugs into a socket, and it drops out if the router is too far away or behind several walls. Check the signal on the spot with a phone before choosing where it goes. For a plot with no electricity, a camera such as the IMOU AOV PT 4G with solar panel runs on battery. You can mix a wired system outside with a Wi-Fi camera indoors, but you will often need two apps to watch them.
4. The full parts list
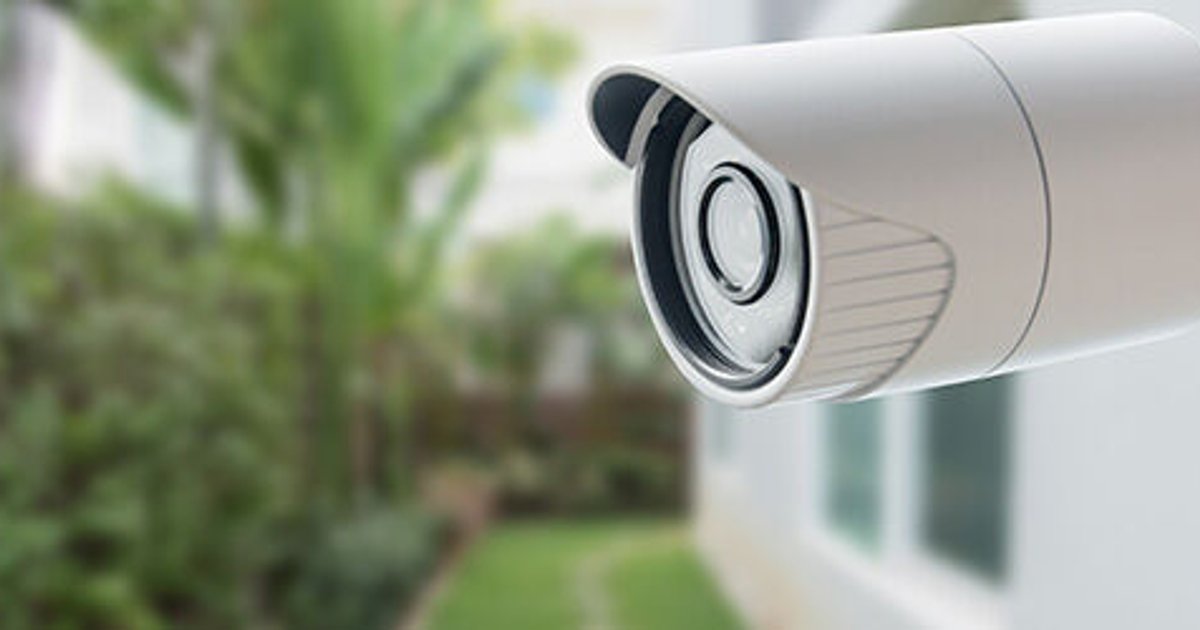
- Cameras, chosen area by area: indoor or outdoor, night vision, field of view. The whole range is under security cameras.
- Recorder: DVR or XVR for coax, NVR for IP. Recent DVRs are hybrid and also take a few IP cameras. See the DVR video recorders and the guide to choosing between DVR and NVR, which covers channels, compression and storage.
- Hard drive, fitted inside the recorder, which rarely ships with one. A 3.5-inch SATA drive from the internal hard drives works, within the capacity limit on the recorder’s spec sheet.
- Cabling: coax with built-in power wires, such as the RG59 + 2 power wire cable on a 100 m reel, with BNC plugs at both ends, or network cable for IP. Connectors are under HDVI camera cabling.
- Power: one 12 V supply per camera or a multi-output unit for a coax system. With PoE, the recorder or switch does it.
- Brackets and junction boxes to mount cleanly and protect outdoor connections, in surveillance accessories.
- A monitor, optional, on HDMI or VGA for watching on site.
For one or two indoor Wi-Fi cameras, a microSD card is enough. Beyond that, and as soon as cameras are outside, a recorder keeps all footage in one safe place: a microSD card leaves with the camera if someone rips it off.
5. Plan the installation
- Mount outdoor cameras out of arm’s reach, but not so high that you only see the tops of heads.
- Avoid pointing at the setting sun or a bright window: backlight turns faces dark.
- Do not put an infrared camera behind glass. The infrared reflects off the pane and the night image becomes useless.
- Measure cable runs from the recorder along the real route (conduits, ceiling voids, corners), then add slack.
- Protect outdoor connections in a weatherproof junction box, even if the camera itself is IP67.
- Connect and test each camera before fixing it and finishing the job.
- Keep the recorder in a closed, ventilated spot out of sight from the entrance, so an intruder cannot walk off with the footage.
In Morocco, a shop or business filming customers or staff falls under law 09-08 on personal data, overseen by the CNDP. Check the formalities before switching the system on. At home, aim cameras so they do not film the street or the neighbours.
6. Watch your cameras on a phone
- Connect the recorder to the router with an RJ45 cable. It records without internet, the connection is only for remote access.
- Install the brand’s app: DMSS for Dahua, Hik-Connect for Hikvision, Imou Life or Tapo for those brands’ Wi-Fi cameras.
- Scan the QR code shown in the recorder’s network menu or on the label underneath.
- Change the factory password and create separate accounts with limited rights for other people.
Footage leaves through your connection’s upload speed. Apps first show a lighter stream, switch to HD to read a detail. Motion alerts are useful once the detection zones are set, otherwise every moving branch sends a notification.
Common mistakes
- Mixing technologies: an IP camera does not plug into a DVR’s coax input.
- Buying a recorder with exactly as many channels as cameras, leaving no room for one more.
- Leaving the factory password on a recorder reachable from the internet.